Pages

Showing posts with label DIY. Show all posts

Wednesday, February 13, 2013

A TARDIS Valentine...

My younger boys and I love watching Doctor Who.  If you don't know what or who that is, you have to start watching BBC America!  You are completely missing out!  Word of warning, don't watching anything dealing the Weeping Angels by yourself or in the dark.  Just saying.
 
Anyway, my youngest is in fifth grade and wanted to have an "epic Valentine box, Mom!"  So, on to the calendar it went and the search for parts began.  Of course, life happened during all of this and it got put on the back burner.  As usual, and as many parents will agree, the night before it's due is ALWAYS a good time.  Especially if you are on your way home from work.  I mean, why not?
 
I lucked out and discovered TARDIS Blue foam core board at Wal-Mart!  Duct tape, some foam tape, a 6x6 wooden canvas form to provide stability at the base.  OOH!  Lookie!  A dark blue paint marker!  Yahooey!  Yes, this was the dialog going through my head.
 
I get home around 8:30pm and start immediately.  After shrinking clip art found on Pinterest (thank you, fellow Whovians who posted diagrams and clip art!) down to a more appropriate size and miraculously NOT cutting myself, I ended up with THIS:
 
 
I did cut a little flap in the back to use as a "mail slot" and the top if hinged with duct tape and a smaller piece of foam core board that just fits inside to provide more stability.  It IS going to school with a fifth grader...
 
As for his Valentines, he wanted something unique.  So, off to Pinterest I went.  Can I just say, WOW!  The amount of amazing and unique Valentine ideas is astounding!  We decided on this.  With my son's desire to continue the Doctor Who theme, we changed it a bit with color and here is what we ended with:


He loved the blue rulers!  Since there aren't many girls in his class he chose to give them a special color, though.  They get red!  I used a utility knife to cut a slit in the card stock a little wider than the ruler so it slid in easily.  I then wrote the "To" and "From" on the back tabs that rest on the underside of the ruler.
 
Hopefully, these go over well.

Wednesday, June 20, 2012

{DIY} Easy Fire Starters

With Hubby and I doing more outdoor activities with the boys, I have been doing more research into things that will help during these adventures.  Hubby also leans more towards the survival part of our outings but that's just the Marine in him (Oorah!).

What to Gather:

Unscented Candle (any color)
100% Cotton Cosmetic Pads
Wax Paper
Tongs
Sauce Pan
Container for Wax (not pictured but it's just a screw top plastic container)


Step 1:  Once you have your items together, count out how many pads you want to do in this batch so you have enough room.  I did 12 count batches.


Step 2:  Put the candle in the sauce pan and turn the heat to LOW and wait.


Step 3: (okay, so I wasn't too good at waiting for ALL the wax to melt but you get the point...)
Drop your pad in the wax.


Step 4:  Let the whole thing turn color or show that it is covered in wax.
(This is why colored wax is a good idea)


Step 5:  Use your tongs and fish it out of the wax.
Let the excess drip off a little and then...


Step 6:  Put on the wax paper.  They take about 10 minutes to set up.
Put in a container or plastic bag til you need them.
Grab a few of those silica packs that come in just about any pair of shoes you buy and toss them in with the Starters.  It will keep the moisture out and prevent them from sticking too badly to each other.


Hubby lit one for me but I forgot the camera inside.  This was taken after about two minutes.
It burned for about 6 minutes.


Tuesday, June 19, 2012

{DIY} Liquid Hand Soap from Bar Soap

First, I will give credit where is is due!  I found the tutorial I used through Pinterest and it sent me HERE.  Several great ideas on her blog and I plan to make use of them in the future.  I figured I would showcase this DIY because it is such a money saver and we all can use a little of savings!

What to Gather:

A cheese/box grater
1 Gallon - DISTILLED water (KEEP THE JUG!)
2 TBSP - Liquid Glycerin
1- 8 oz Bar of Soap (don't use Dove, it won't work)
Pot (I am using my canning pot)
Spoon or Spatula
Cutting Board
Stove top


Step 1:  Pour the DISTILLED water and 2 TBSP of Glycerin in to your pot and stir. 


Step 2:  Grate your soap.  (I had to use two bars of mine since they were only 4.25oz each)


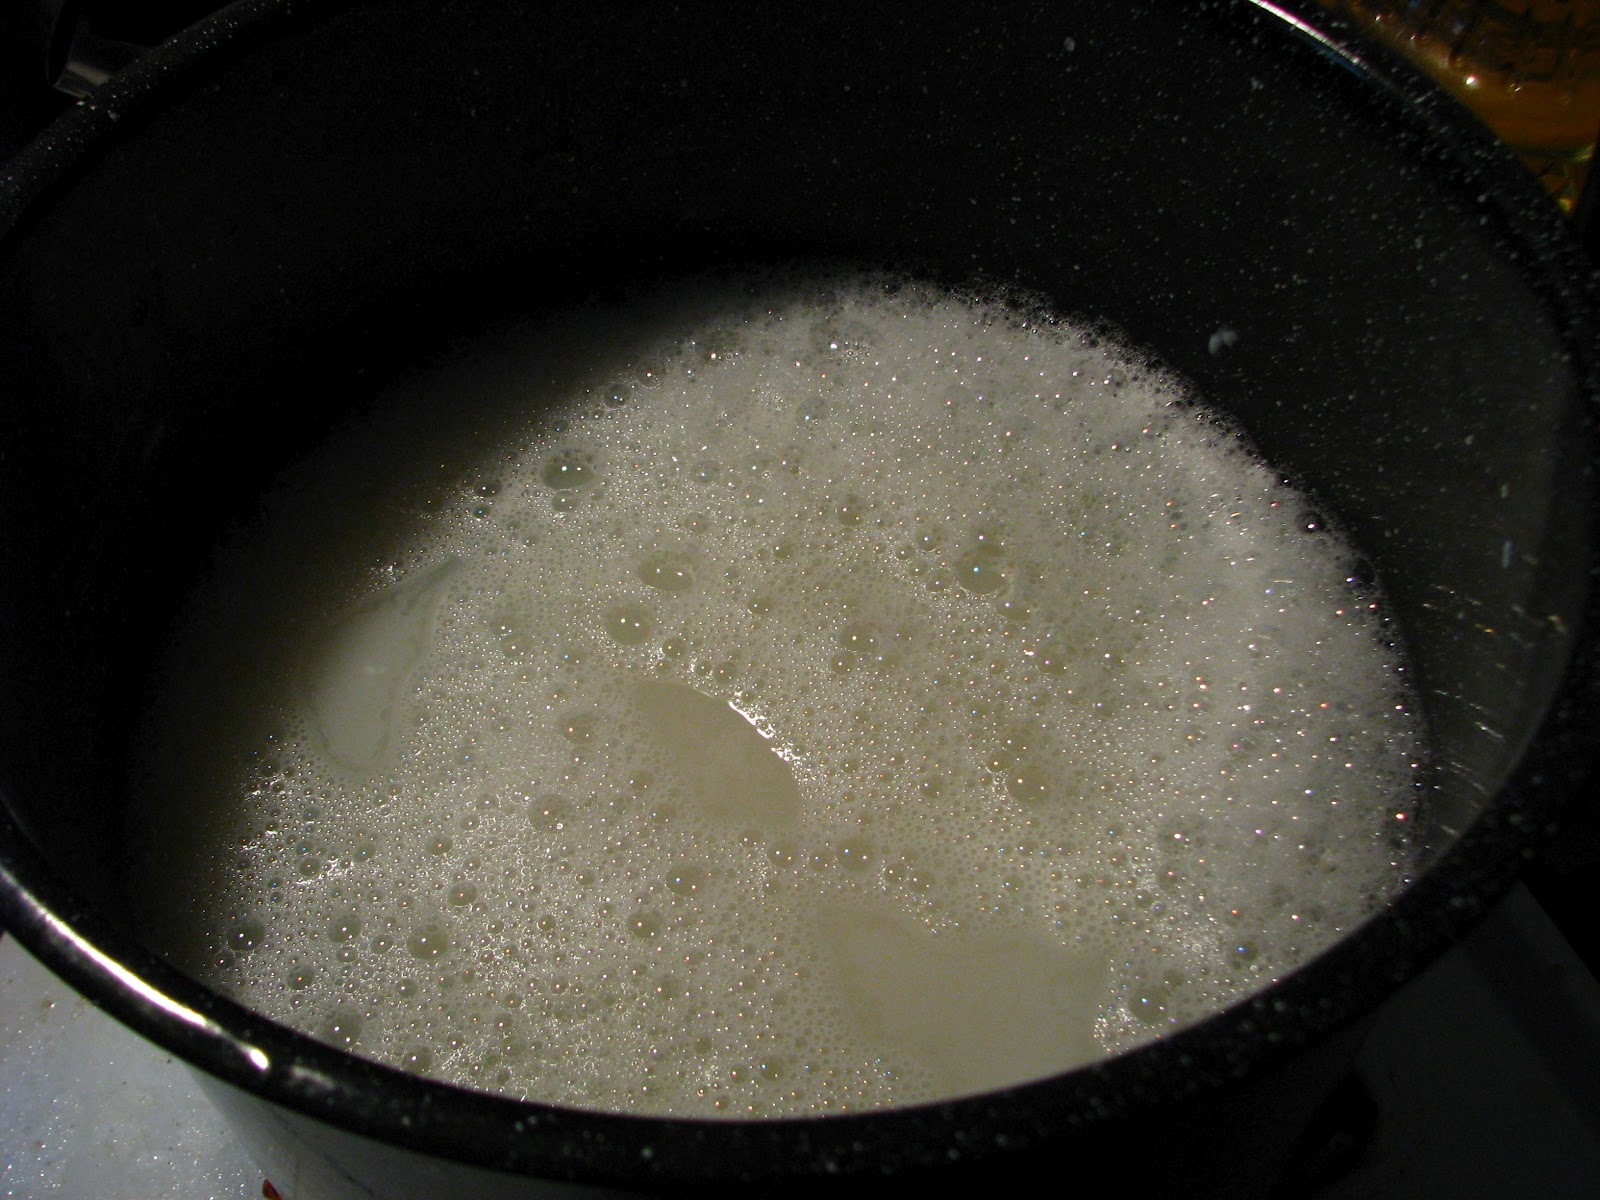
Step 3:  Add Soap shavings and turn heat on to Medium/High.  Stir til all soap is dissolved (it will take a bit) and remove from heat.


(You are going to end up with cloudy, soapy water...with some bubbles!)

Step 4:  Wait.  10-12 Hours!
(Yes, that means you, Little Miss 6-year-old in a grown up body!  NO TOUCHY!)
...
...
...
Okay!  So, I am home from work (it's about 10pm now) and I just finished up the batch of liquid soap!

Step 5:  Grab a funnel and the gallon jug the water came in.  Grab your hubby or strong friend to help.  Mix the soap with a whisk or mixer so that you get everything the consistency of snot (Gross, I know.  But seriously...snot!).  Pour CAREFULLY and SLOWLY through the funnel into the jug.  Label it and be happy!


So, this was my first ever tutorial so, be gentle!  Hope you are able to follow it!
Good luck with your own Inspirations!

************************************************************
Updates!

*Try using a hand held blender after you dump the soap shavings into the water.  It blends it all, of course, and takes about 15-20 minutes off your time waiting for the soap to dissolve.  Heat it up after its all combined, then remove from the heat sourse and wait!